We ❤️ Open Source
A community education resource
How to import data to your database with DBeaver
Learn how to import data and get corresponding database tables without complicated SQL scripts.

You use a database each time you launch a new service, create a website, or develop an application. After setting up your database for the first time, you may be faced with the question: How do I load the data I already have?
Of course, one way is to create long and complicated SQL scripts, but there are more efficient ways to accomplish this task. With DBeaver Community, it is possible to import data from a file to a database without writing any statements. Let’s take a step-by-step look at how it works.
How to get started
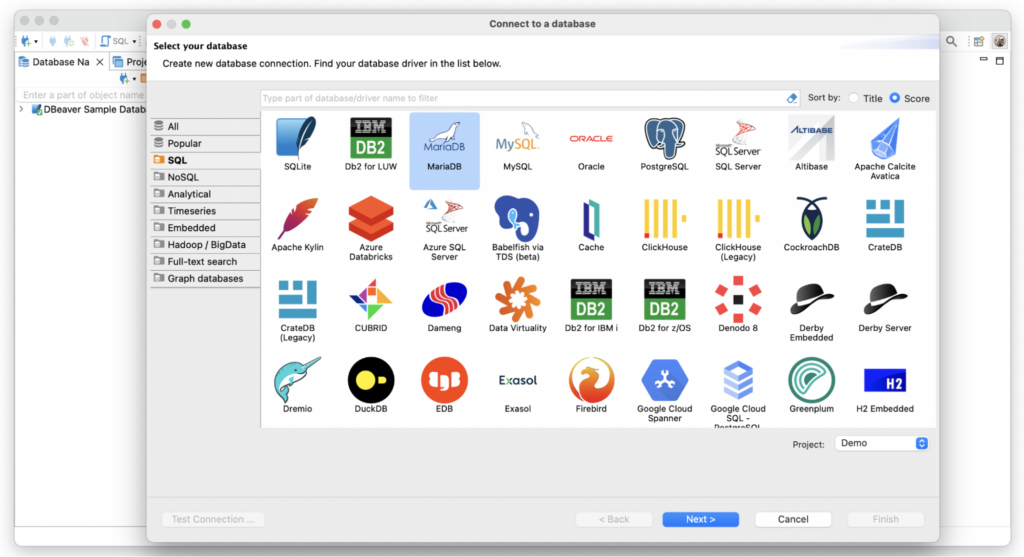
First, you need to connect to your data source. DBeaver allows users to create connections to about 100 different databases and work with them via a unified user interface. All you need to do is select the Plug button on the top toolbar, choose a database driver, and enter the necessary credentials into the wizard’s fields.
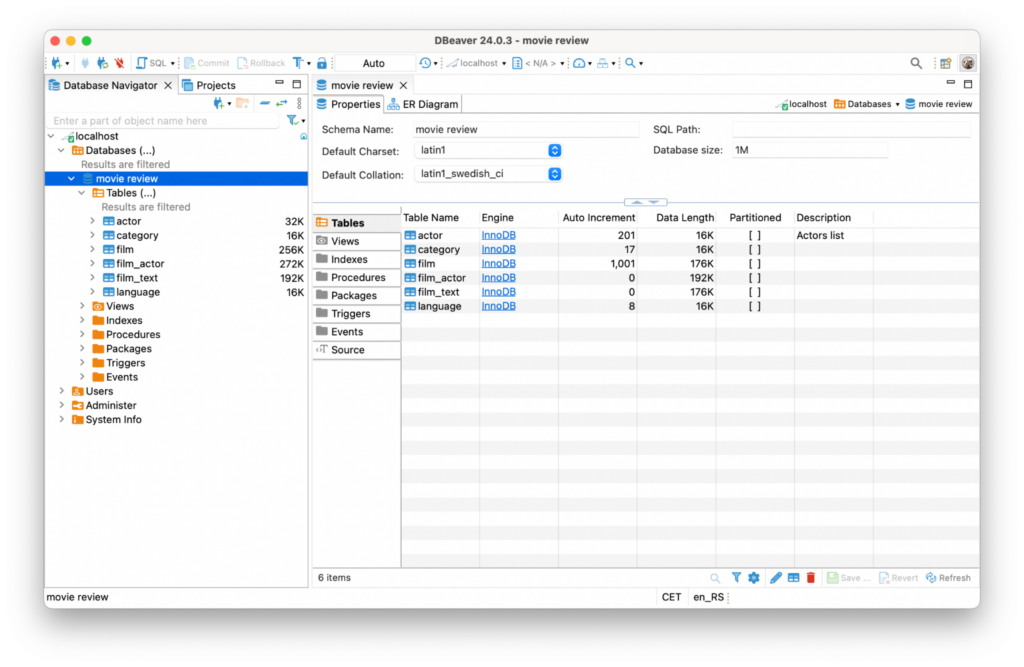
Let’s learn how to add a new table by using the MariaDB database example, which stores data about movies.
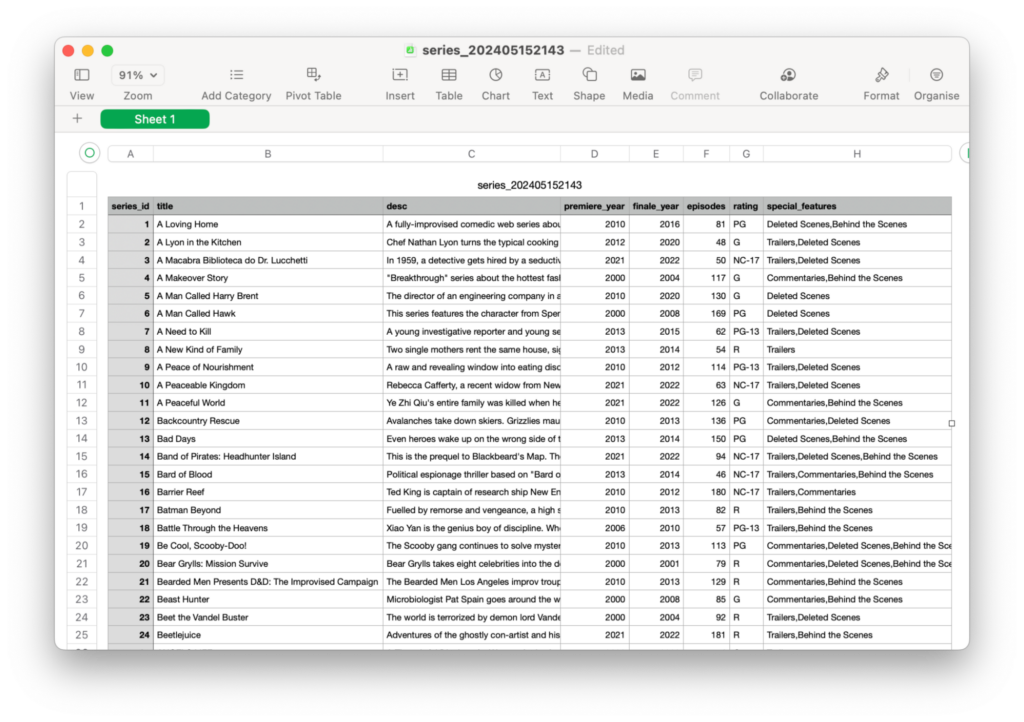
The needed data is stored in a CSV file, per best practices.
Now we can see how to load this data into a database even if you had not created a necessary table in advance.
How to import data in DBeaver
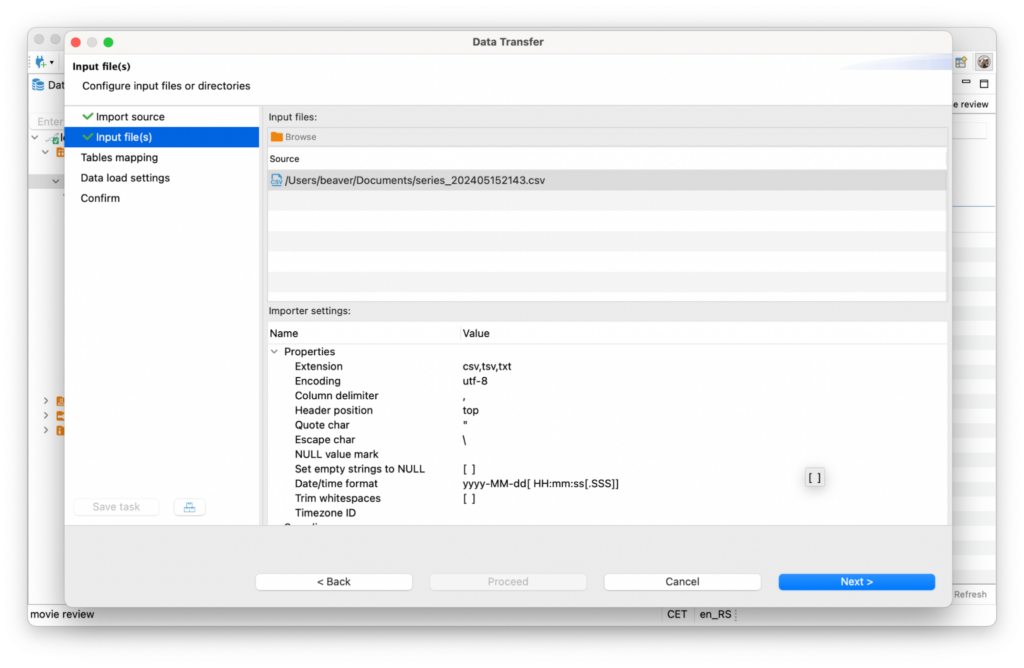
First, you need to right-click on the connection in the navigation tree and select “Import data.” Then, using the wizard window that opens, you can upload a CSV file.
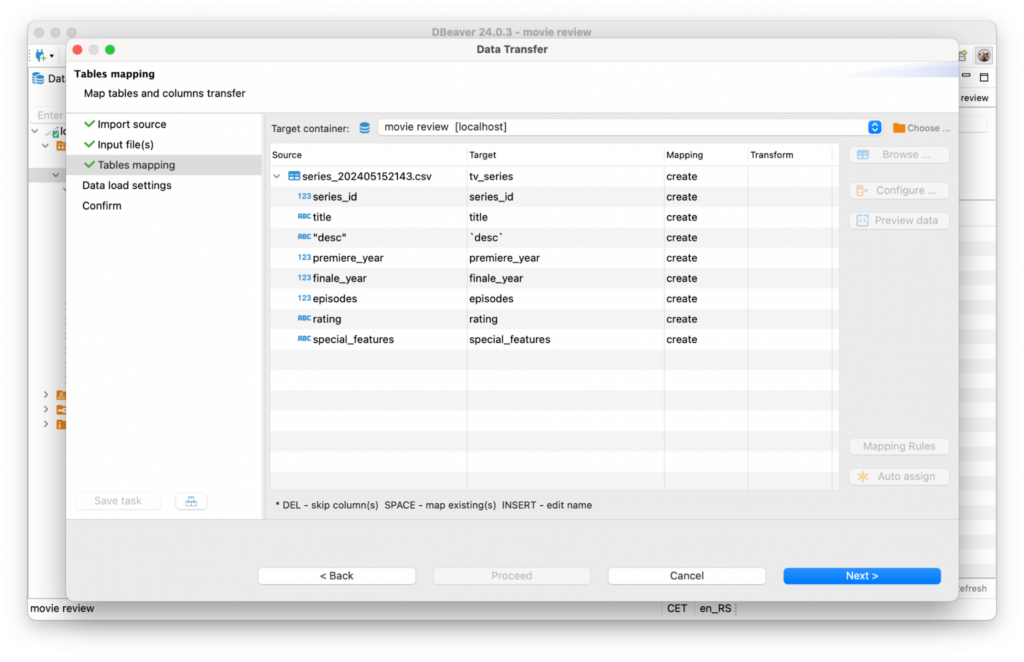
At the “Tables mapping” step, DBeaver suggests creating a new database table because you do not have one yet. Here, you can also adjust the columns and check the correctness of the data type mapping. You can exclude unnecessary columns from the import at this point as well.
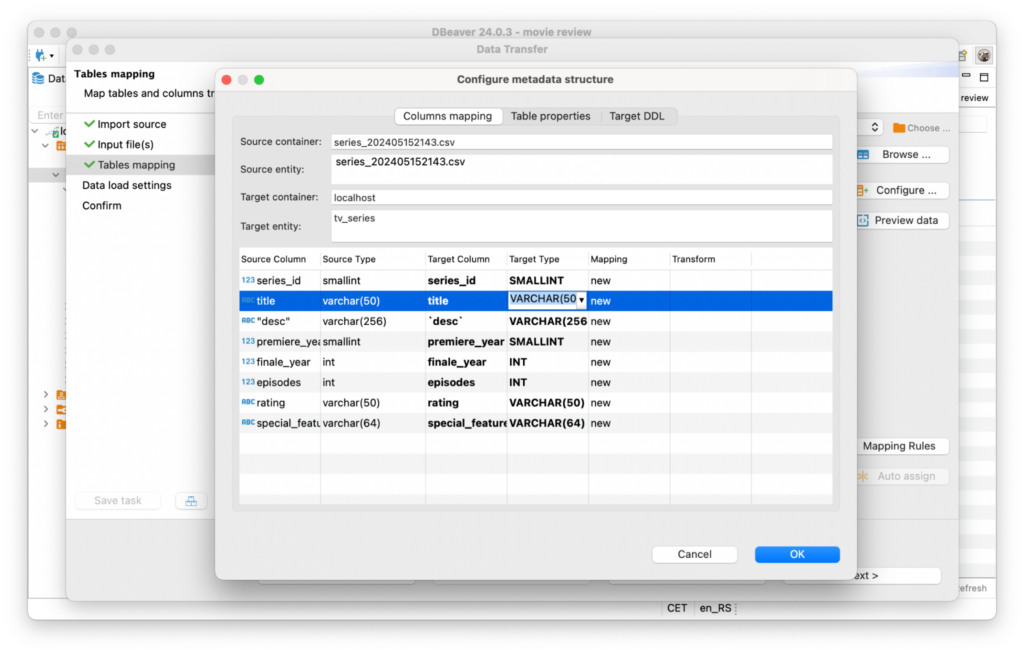
If necessary, you can configure each column as you wish by changing its name, data type, or length.
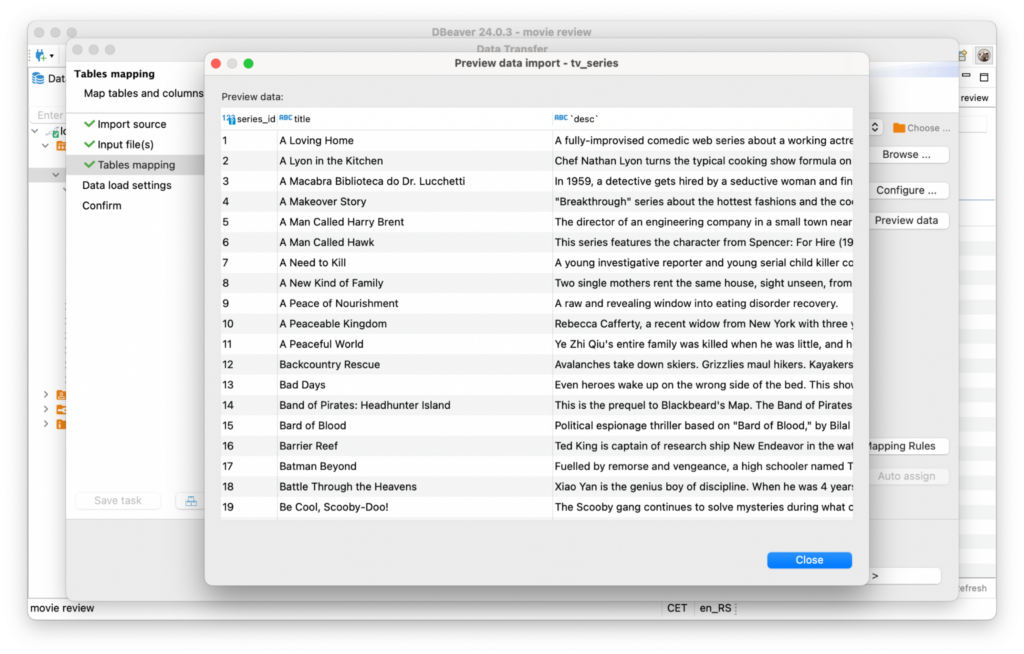
By selecting the Preview data button, you can quickly explore what your new table will look like after importing all the data.
The default settings selected at the “Data load settings” step, the table will open after the download has been completed, you should immediately see the results of the import.
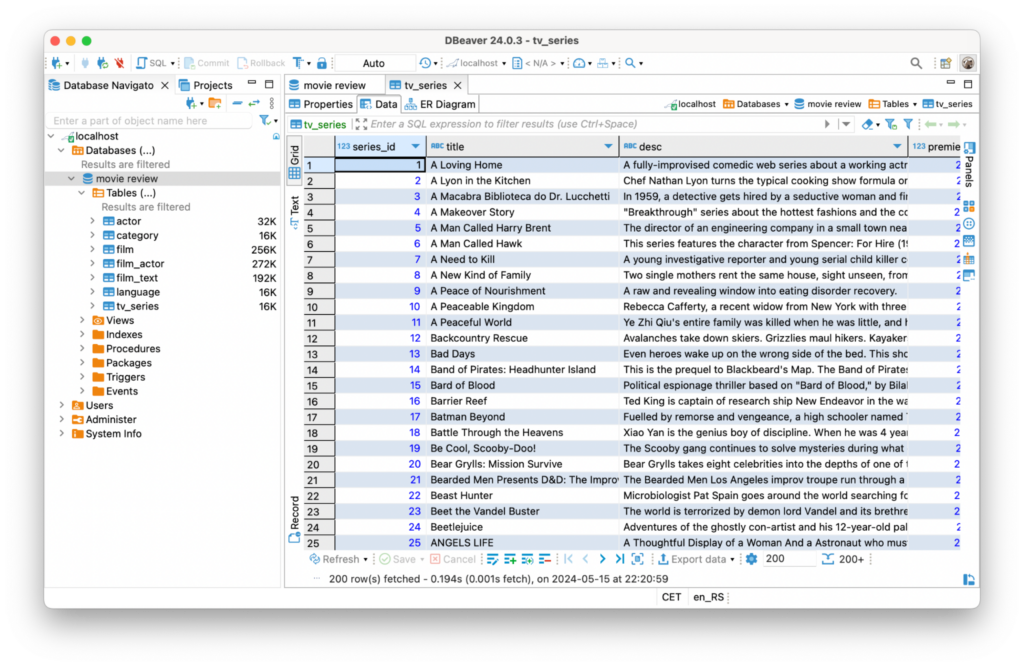
Everything is finally done. And it took just a few clicks in the DBeaver user interface to get a new table with all the data you needed. Based on this example, you can easily do the same and load data from a file into your database. Moreover, you can import data from several files at once and get corresponding database tables in just a few clicks.
Learn more about the DBeaver community at dbeaver.io.

The opinions expressed on this website are those of each author, not of the author's employer or All Things Open/We Love Open Source.