We  Open Source
A community education resource
Unleashing the power of Homebrew on MacOS
Explore how Homebrew can search for packages, install them with a single command, list software inventory, upgrade, and more.

For a tech enthusiast like me, getting an M2 MacBook Air (M2 Air) isn’t just a purchase; it’s an ascent. It’s like stumbling upon a mythical unicorn, except this one runs MacOS and boasts killer battery life. While the M2 Air serves as my trusty steed, my heart still belongs to the open source realm. How can I bridge both worlds? The answer lies in Homebrew–a robust package manager for MacOS that not only simplifies installing, updating, and managing open source software, but also empowers MacOS users to unlock a whole new level of possibilities.
The benefits of Homebrew
- Easy installation and management of software: Homebrew uses the familiar terminal and provides a simple way to install software using the familiar terminal, especially open source applications and developer tools. This eliminates the need to hunt down individual downloads and installers from various websites. Homebrew also streamlines the update process, allowing you to update all your installed software with a single command easily.
- Dependency management: Many software packages rely on other underlying software components to function correctly. Homebrew automatically takes care of these dependencies, ensuring you have everything you need installed before running the software you want. This saves you time and relieves you from potential frustrations by avoiding compatibility issues.
- Access to a broader range of software: While the Mac App Store offers a variety of applications, Homebrew provides a more comprehensive and much wider selection of software options, particularly developer tools and utilities that may not be available through official channels. This gives you more flexibility and control over your system.
Installing Homebrew on MacOS
Now that we’ve highlighted the advantages of using Homebrew, let’s walk through the installation process on a MacOS system.
Open terminal
Launch the terminal on your MacOS system. Navigate to Applications > Utilities folder or use Spotlight search to locate it quickly. Be sure that ‘xcode‘ is installed on your MacOS system. Enter the following in your terminal:
% xcode-select --installInstall Homebrew
Copy and paste the following command into your Terminal and press Enter:
%/bin/bash -c "$(curl -fsSL https://raw.githubusercontent.com/Homebrew/install/HEAD/install.sh)"This command initiates the Homebrew installation process.
Follow on-screen prompts
The installation will guide you through the process. Follow the on-screen prompts, and you may be required to enter your system password to proceed with the installation.
Verify installation
Once the installation is complete, you can verify it by running the following command:
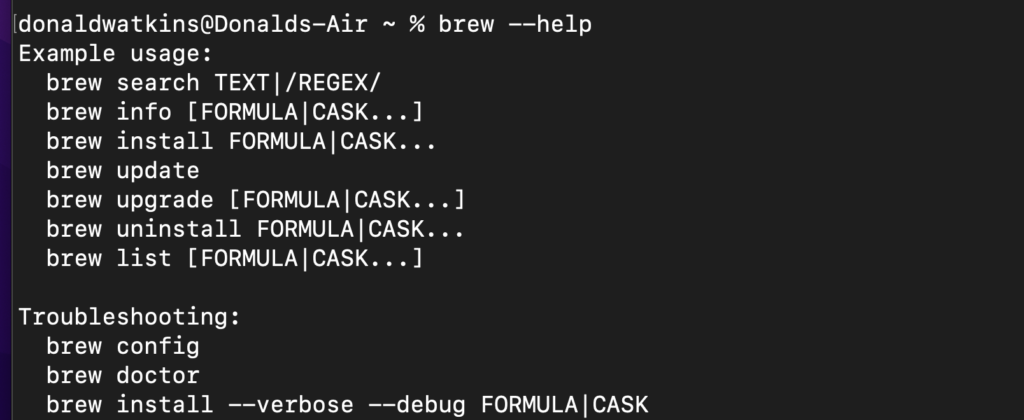
% brew --versionWith Homebrew successfully installed, you can now leverage its capabilities to search, manage, and install packages. Here are a few basic commands to get you started. In the screenshot below, using the --help option shows which commands are available.

Search for packages available on Homebrew with:
% brew search inkscapeInstall packages easily with:
% brew install inkscapeList the packages on the system with:
% brew list
It’s easy to update Homebrew with the following command:
% brew updateThis updates Homebrew itself, but you’ll probably want to upgrade the open source packages you’ve installed on your MacOS system. Homebrew provides an easy way to do that by entering the following command:
% brew upgradeWhy settle for one world when you can embrace both? With Homebrew at your side, your M2 MacBook Air gives you access to the world of open source.
Homebrew transforms your M2 Air from a polished Apple device into a versatile open source powerhouse, letting you tap into the boundless potential of this vibrant community. You can search for packages, install them with a single command, list your software inventory, and update everything effortlessly.
The opinions expressed on this website are those of each author, not of the author's employer or All Things Open/We Love Open Source.
