We ❤️ Open Source
A community education resource
How to install and utilize Open WebUI
Discover how Open-WebUI is a nuanced approach to locally hosted Ollama.

Open WebUI offers a robust, feature-packed, and intuitive self-hosted interface that operates seamlessly offline. It supports various large language models like Ollama and OpenAI-compatible APIs, Open WebUI is open source with an MIT license. It is easy to download and install, and it has excellent documentation.
I chose to install it on both my Linux computer and on the M2 MacBook Air. The software is written in Svelte, Python, and TypeScript and has a community of over two-hundred thirty developers working on it.
The documentation states that one of its key features is an effortless setup. It was easy to install. I chose to use the Docker image. It boasts a number of other great features including OpenAI API integration, full Markdown and Latex support, a model builder to easily create Ollama models within the application. Be sure to check the documentation for all the nuances of this amazing software.
Read more: Getting started with Ollama
I decided to install Open WebUI with bundled Ollama support for CPU only, since my Linux computer does not have a GPU. This container Image unites the power of both Open WebUI and Ollama for an effortless setup. I used the following Docker install script copied from the GitHub repository.
$ docker run -d -p 3000:8080 -v ollama:/root/.ollama -v open-webui:/app/backend/data --name open-webui --restart always ghcr.io/open-webui/open-webui:ollamaOn the MacBook I chose a slightly different install, opting to use the existing Ollama install as I wanted to conserve space on the smaller host drive. I used the following command taken from the GitHub repository.
% docker run -d -p 3000:8080 --add-host=host.docker.internal:host-gateway -v open-webui:/app/backend/data --name open-webui --restart always ghcr.io/open-webui/open-webui:mainOnce the installation was complete, I pointed my browser to:
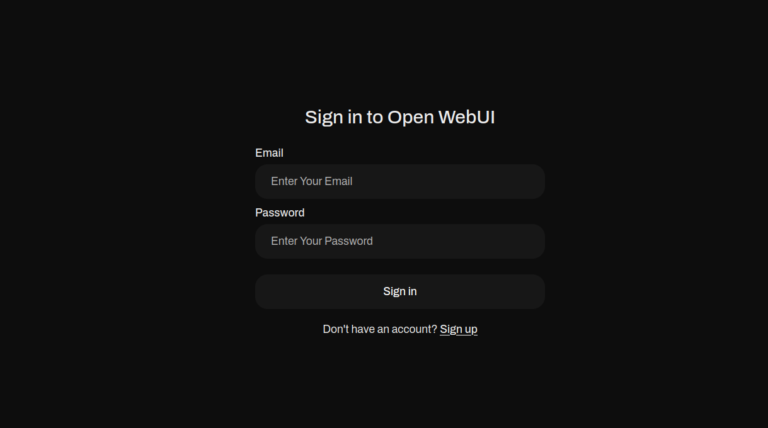
http://localhost:3000/authI was presented with a login page and asked to supply my email and a password.

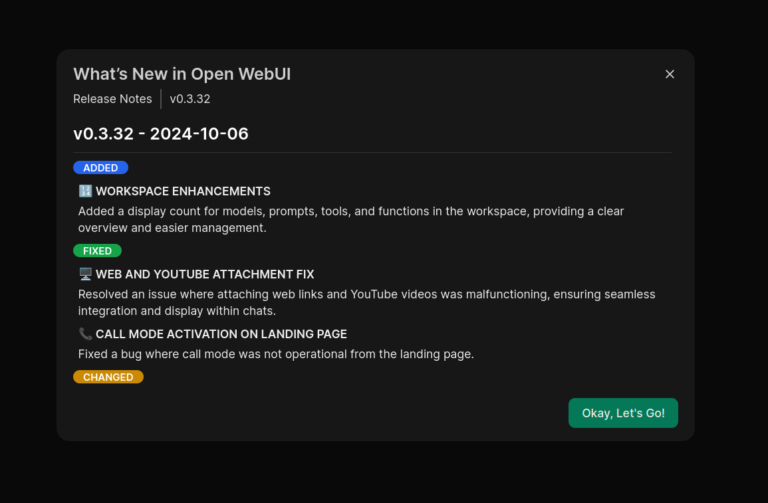
First time login, you will use the ‘Sign up’ link and provide your name, email and a password. Subsequent logins require email and password. After logging in for the first time, you are presented with “What’s New” about the project and software.

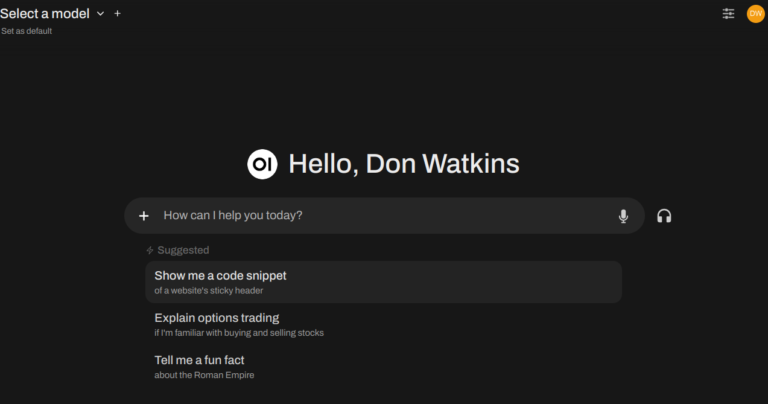
After pressing “Okay, Let’s Go!” I am presented with this display.

Now I am ready to start using Open WebUI.
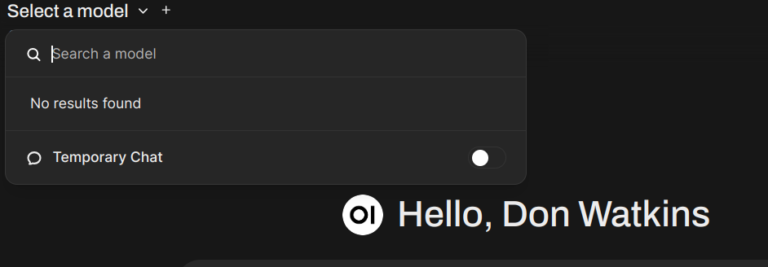
The first thing you want to do is ‘Select a Model’ at the top left of the display. You can search for models that are available from the Ollama project.

On initial install you will need to download a model from Ollama.com. I enter the model name I want in the search window and press ‘Enter.’ The software downloads the model to my computer.

Now that the model is downloaded and verified, I am ready to begin using Open WebUI with my locally hosted Phi3.5 model. Other models can be downloaded and easily installed as well. Be sure to consult the excellent getting started guide and have fun using this feature-rich interface. The project has some tutorials to assist new users.
In conclusion, launching into an immersive experience through their intuitively designed interface allows users ofOpen WebUI to fully leverage its comprehensive array of features.
More from We Love Open Source
- Getting started with Llamafile tutorial
- Enhance your writing skills with Ollama and Phi3
- A quick guide to create an efficient rubric using genAI
- Harness the power of large language models part 1: Getting started with Ollama
This article is adapted from “Open WebUI: A nuanced approach to locally hosted Ollama” by Don Watkins, and is republished with permission from the author.
The opinions expressed on this website are those of each author, not of the author's employer or All Things Open/We Love Open Source.
