We  Open Source
A community education resource
Getting started with FreeDOS 1.4 Release Candidate 1
A step-by-step guide for developers to explore FreeDOS 1.4 RC1 features and report bugs.

The FreeDOS Project doesn’t have a very frequent release schedule for the official distributions because FreeDOS is already very stable and feature-compatible with classic DOS. We released the FreeDOS 1.3 distribution in February 2022, which was about five years after FreeDOS 1.2. That slow release cycle has worked well for a retro 16-bit operating system that replaces a classic DOS operating system that stopped being a “moving target” in 1995.
But FreeDOS developers have continued to release new updates to programs, fixing bugs and adding new features. Jerome Shidel, our FreeDOS “distribution coordinator,” collects the latest updates into monthly “test releases” so developers can test everything together. We’ve advertised the official distribution for most users because it works well, and the monthly test releases for those who want to see more frequent changes.
Over the last few months, we realized that we were seeing users complain about bugs in the FreeDOS 1.3 distribution that have been fixed for a long time in the test releases. Many of these bugs were very annoying, especially for those who were new to using DOS.
We decided it was time to release a new official FreeDOS distribution. And thanks to everyone who contributes to FreeDOS, we are excited to share the FreeDOS 1.4 Release Candidate 1 is now available!
Read more: 5 FreeDOS editors I love
FreeDOS 1.4 Release Candidate 1 is an up-to-date version of FreeDOS, with a focus on stability. This has a ton of new changes and fixes since FreeDOS 1.3. This includes updates to the installer and version updates on many programs such as fdisk, format, ldebug, jemm, bwbasic, dojs, dog, nasm, curl, mkeyb, edlin, blocek, htmlhelp, fdnet, more, fdimples, and others. Read our change log for a complete list of changes since FreeDOS 1.3. A very recent FreeCOM (the FreeDOS command.com shell) did not make it into FreeDOS 1.4 RC1 because it was released on the same day as FreeDOS 1.4 RC1. Altogether, we believe these updates will address the bugs that people have complained about since FreeDOS 1.3.
We invite everyone to help us test the new FreeDOS distribution! Please download FreeDOS 1.4 Release Candidate 1 and try it out. If you find any bugs or compatibility issues, please report them in our bug tracker.
Installing FreeDOS 1.4 Release Candidate 1
These days, most people boot FreeDOS in a virtual machine, and you may find that to be the easiest way to run FreeDOS in 2025. Oracle’s open source VirtualBox is quite popular, especially on Windows, because it provides a graphical front-end to set up and boot your virtual machine. I prefer QEMU, which is usually installed by default on most Linux systems, and also available for Windows and Mac. Note that QEMU requires configuring the virtual machine via the command line.
To start with QEMU, you first need to set up a disk image to test with. In the 1990s, hard drives with around 200MB capacity were common, and capacities around 500MB were quite affordable. You can use the qemu-img command to create a new 500MB virtual disk. I find the qcow2 disk image format gives good performance:
$ qemu-img create -f qcow2 disk.qcow2 500M
Formatting 'disk.qcow2', fmt=qcow2 cluster_size=65536 extended_l2=off compression_type=zlib size=524288000 lazy_refcounts=off refcount_bits=16
With the new disk image defined, you can boot the FreeDOS 1.4 Release Candidate 1 LiveCD using the qemu-system-i386 command:
$ qemu-system-i386 -enable-kvm -m 32 -hda disk.qcow2 -cdrom FD14LIVE.iso -boot order=dThis command line enables the Linux Kernel-based Virtual Machine for improved performance in QEMU, and defines a virtual machine with 32MB memory. The -hda option defines the hard drive, and the -cdrom option defines the ISO image for the FreeDOS 1.4 RC1 LiveCD. Using -boot order=d tells QEMU to only boot from the CD-ROM (order=d) instead of the hard drive (order=c) or floppy (order=a).
When you first boot the LiveCD, you’ll be prompted with a menu. You can select to boot FreeDOS into a “live” environment, where you can run FreeDOS without actually installing it—this is a great option if you keep your other DOS applications on another disk image, or if you just want to see what FreeDOS is like. You can also use the menu to install FreeDOS to the hard disk.
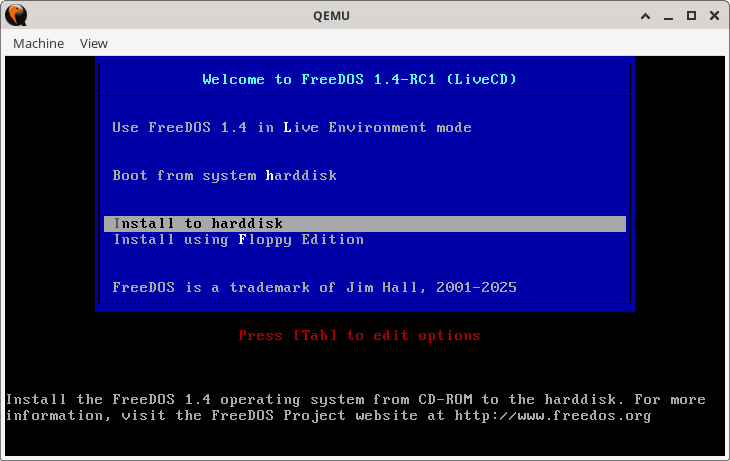
The installer will also prompt you for your preferred spoken language. FreeDOS supports multiple spoken languages, including English, German, Spanish, French, and Turkish. Select your language from the menu:

Now you’re ready to install FreeDOS! Select “Yes” in the menu to get started:

Since we’re starting with a fresh virtual disk image, FreeDOS needs to create a partition to work with. Use the “Yes” menu item to let FreeDOS set up the virtual disk for you:

Creating a new partition should only take a few seconds, depending on the size of your virtual disk:

FreeDOS (like any DOS) reads the disk partition information just one time, at boot-up. After modifying the disk partitions, FreeDOS needs to reboot before it can use the new partition:

After you reboot, the FreeDOS installer will pick up where it left off. In the previous step, the installer set up a new partition on the virtual disk, so the next step is to create a filesystem on it, called formatting. Select “Yes” to let the installer format the new partition:

Formatting the disk should only take a few seconds, depending on the speed of your system and the size of your virtual disk:
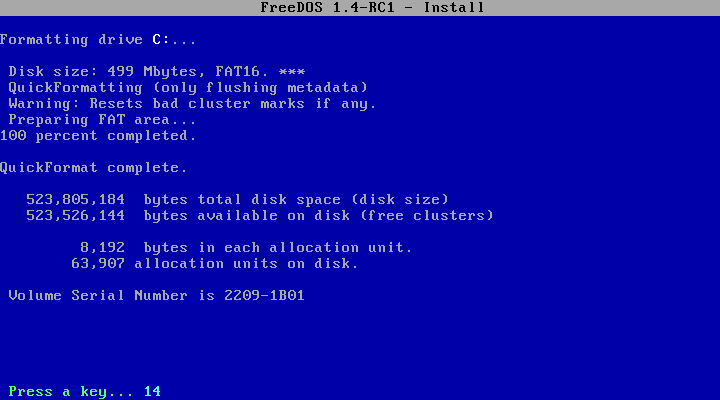
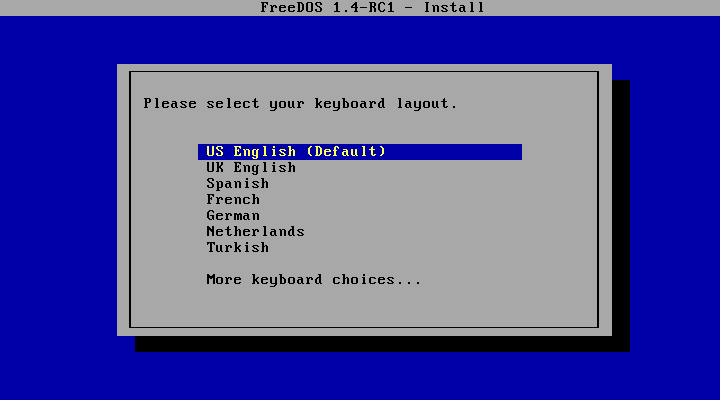
Finally, the installer is ready to install FreeDOS for you! First, it prompts for your keyboard layout, which the installer uses to set up your system for you:
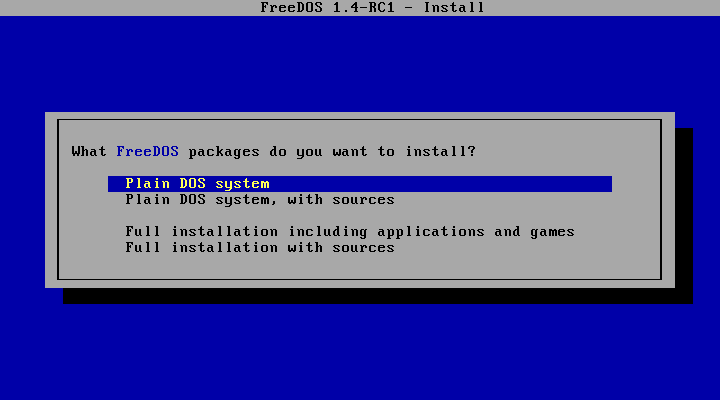
You can install FreeDOS in two different ways: A “Plain DOS system” will install just the core components of FreeDOS and not much else. This is essentially like installing a DOS system from the 1990s. Doing a “Full installation including applications and games” will install everything from the LiveCD. As you might guess, this can be quite large.
For either installation option, you can also choose to include the source code at the same time. FreeDOS is open source software, and that means you are free to examine the source code and make your own changes. We provide the source code on our GitLab repository, but we also provide the source code to you when you install FreeDOS:
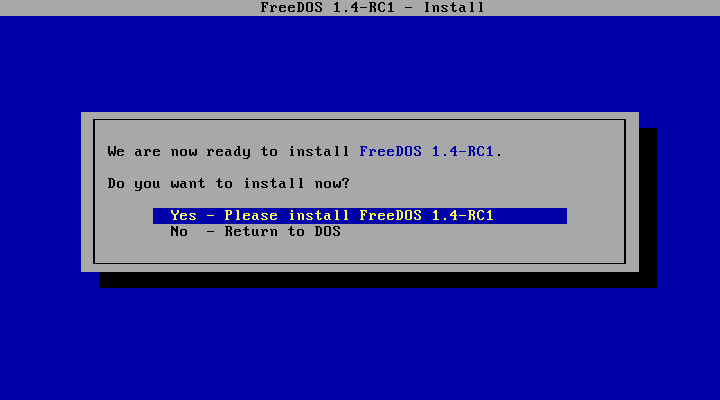
Select “Yes” at the next prompt to install FreeDOS on your system:
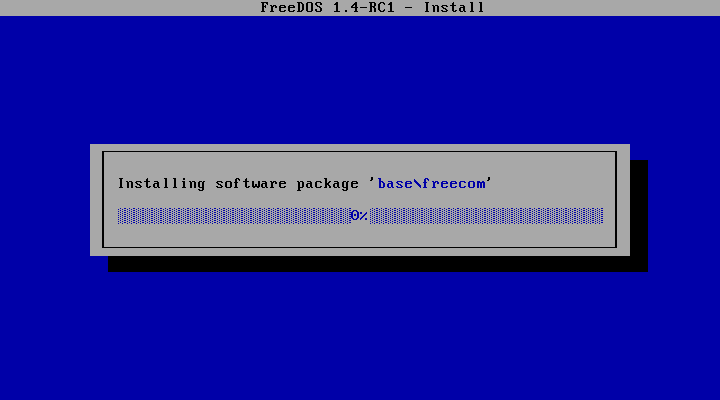
The installer sorts the packages it needs to install, then it does the rest of the installation by itself:
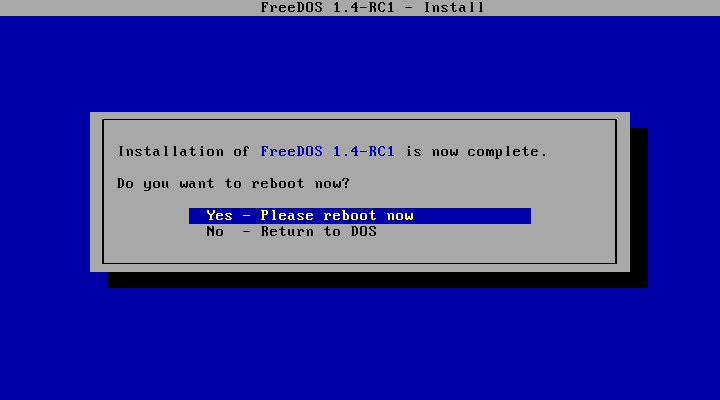
And that’s it! You can reboot the system into FreeDOS 1.4 Release Candidate 1, or you can exit back to the LiveCD:
Read more: Explore the five steps of the FreeDOS boot sequence
When I install on a LiveCD, I prefer to exit back to DOS, then type the shutdown command to gracefully exit the virtual machine instance. After that, you can change the boot order to order=c to boot from the hard disk:
$ qemu-system-i386 -enable-kvm -m 32 -hda disk.qcow2 -cdrom FD14LIVE.iso -boot order=c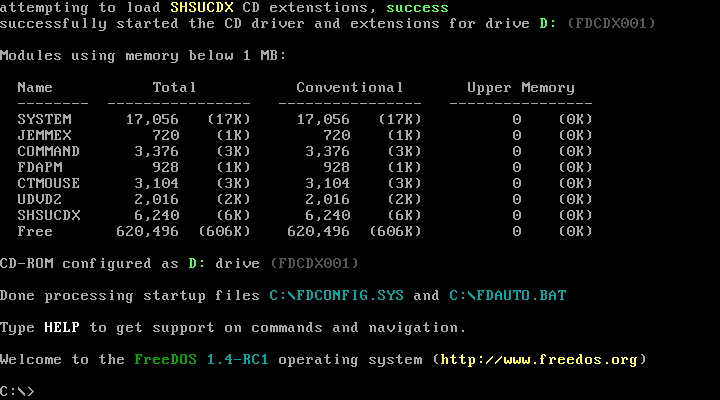
Adding packages
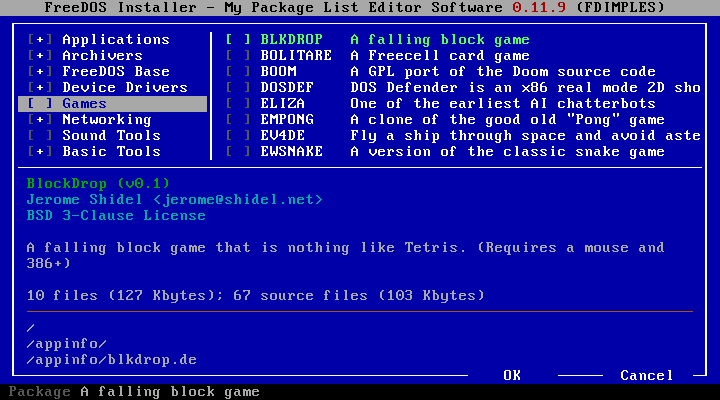
FreeDOS includes a long list of packages that you can install. If you chose the “Full installation including applications and games,” then you should find that every package provided on the LiveCD will be installed on your system. If you installed the “Plain DOS system,” then you will need to use the fdimples command to install any optional packages that you want to have. Use the arrow keys to navigate, the Tab key to switch from the group list to the package list, and the Space bar to select a group or package. Select “Ok” to install the selected packages.
Read more: How to write your first FreeDOS program
We provide so many programs with the FreeDOS distribution that they won’t all fit on just one CD-ROM image. Look for other packages on the BonusCD. For example, developers may be interested in the compilers, assemblers, debuggers, editors, and other tools on the BonusCD.
Please help us test the new FreeDOS 1.4 Release Candidate 1, and let us know of any compatibility issues you find. These bug reports help us to make FreeDOS even better, especially as we look forward to FreeDOS 1.4 Release Candidate 2 in February, and a new official FreeDOS 1.4 distribution after that!
More from We Love Open Source
- 5 FreeDOS editors I love
- How to write your first FreeDOS program
- How to navigate the command line
- Explore the five steps of the FreeDOS boot sequence
- A throwback experiment with Linux and Unix
The opinions expressed on this website are those of each author, not of the author's employer or All Things Open/We Love Open Source.
