We ❤️ Open Source
A community education resource
Exploring Hollama: A minimalist web interface for Ollama
Streamlined model creation and customization is a breeze using Hollama.

I’ve been continuing the large language model learning experience with my introduction to Hollama. Until now my experience with locally hosted Ollama had been querying models with snippets of Python code, using it in REPL mode and customizing it with text model files. That changed when I listened to a talk about using Hollama.
Hollama is a minimal web user interface for talking to Ollama servers. Like Ollama itself, Hollama is open source with an MIT license. Developed initially by Fernando Maclen who is a Miami-based designer and software developer. Hollama has nine contributors currently working on the project. It is written in TypeScript and Svelte. The project has documentation on how you can contribute too.
Hollama features large prompt fields, Markdown rendering with syntax highlighting, code editor features, customizable system prompts, a multi-language interface along with light and dark themes. You can check out the live demo or download releases for your operating system. You can also self-host with Docker. I decided to download it on my M2 MacBook Air and my Linux computer.
On Linux, you download the tar.gz file to your computer and extract it. This opened a directory bearing the name of the compressed file, “Hollama 0.17.4-linux-x64.” I chose to rename the directory Hollama for ease of use. I changed my directory to Hollama and then executed the program.
$ ./holllamaThe program quickly launches, and I was presented with the user interface which is intuitive to an extent.
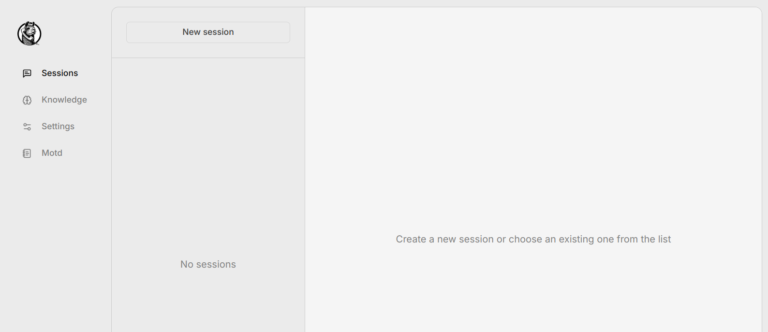
Read more: Enhance your writing skills with Ollama and Phi3
At the bottom of the main menu and not visible in this picture is the toggle for light and dark mode. On the left of the main menu there are four choices.
- First is “Session” where you will enter your query for the model.
- The second selection is “Knowledge” where you can develop your model file.
- The third selection is “Settings” where you will select the model(s) you will use.
There is a checkoff for automatic updates. There is a link to browse all the current Ollama models. The final menu selection is ‘Motd‘ or message of the day where updates of the project and other news are posted.
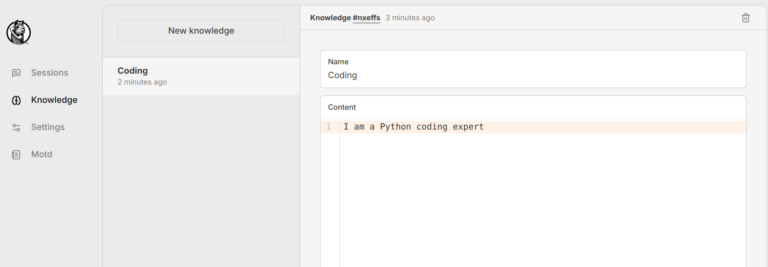
Model creation and customization is made much easier using Hollama. In Hollama I completed the model creation in the “Knowledge” tab of the menu. Here I have created a simple “Coding” model as a Python expert.
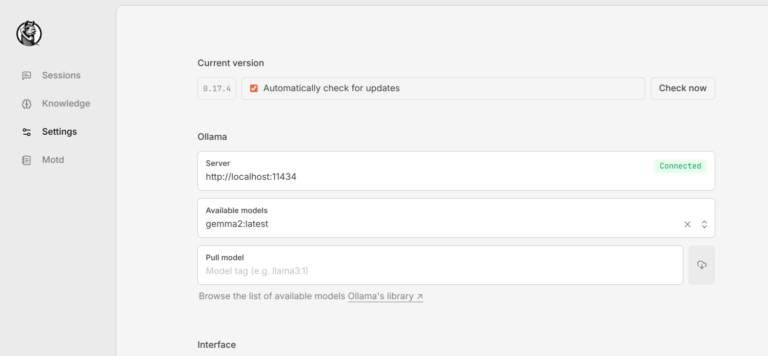
In “Settings” I specify which model I am going to use. I can download additional models and/or select from the models I already have installed on my computer. Here I have set the model to ‘gemma2:latest‘ and I have the settings so that my software can check for updates. I also can choose which language the model will use. I have a choice of English, Spanish, Turkish, and Japanese.
Now that I have selected the “Knowledge” I am going to use and the model, I am ready to use the “Session” section of the menu and create a new session. I selected “New Session” at the top and all my other parameters are set correctly.
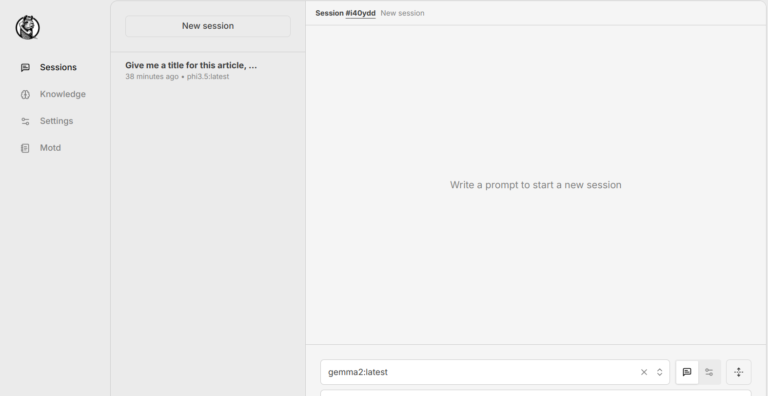
At the bottom right of the “Session” menu is a box for me to enter the prompt I am going to use.
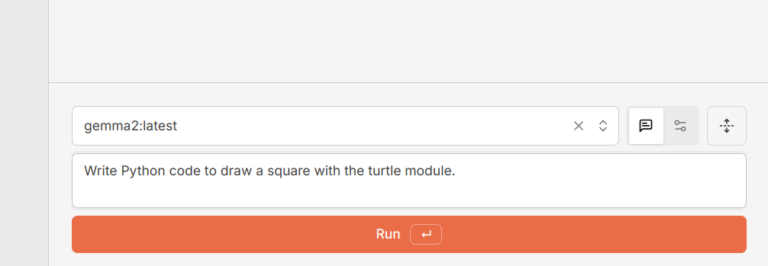
Read more: Getting started with Llamafile tutorial
You can see the output below that is easily accessible.
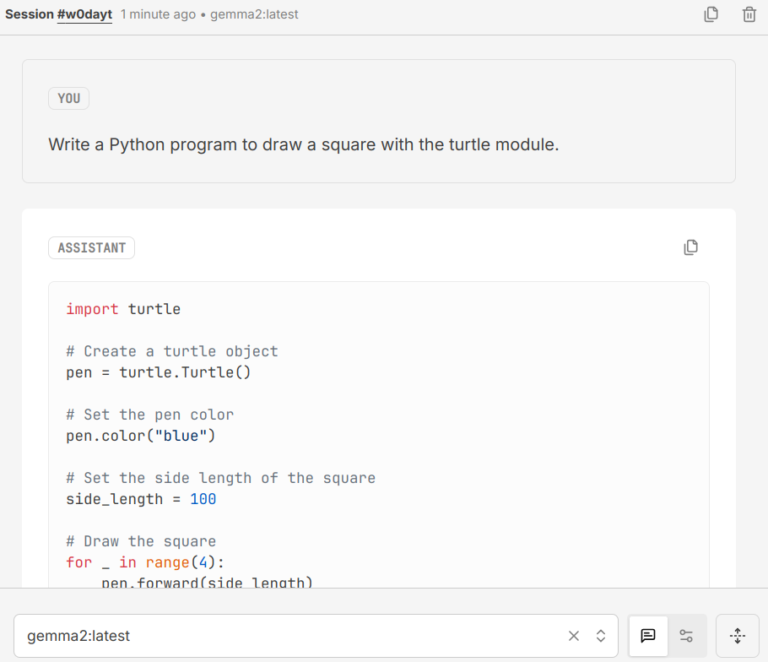
The output is separated into a code block and a Markdown block so that it is easy to copy the code into a code editor and the Markdown into an editor. Hollama has made working with Ollama much easier for me. Once again demonstrating the versatility and power of open source.
More from We Love Open Source
- Enhance your writing skills with Ollama and Phi3
- Getting started with Llamafile tutorial
- 4 ways to extend your local AI co-pilot framework
- Harness the power of large language models part 1: Getting started with Ollama
This article is adapted from “Exploring Hollama: A minimalist web interface for Ollama” by Don Watkins, and is republished with permission from the author.
The opinions expressed on this website are those of each author, not of the author's employer or All Things Open/We Love Open Source.
